
[ad_1]
In the last two decades, technological advances have dramatically improved the speed of the Internet. Broadband and fiber connections have created lightning-fast networks where even 4K media files can be uploaded in seconds to both your PC and TV.
But that’s not to say there isn’t room for improvement. Changing your DNS settings is often cited as one of the easiest ways to optimize Internet speed. Let’s see how DNS works and how to change it.
What is DNS? When you enter a website’s URL into your browser, it needs to be translated into the site’s IP address in order to send and receive data. He Domain Name System (DNS) is the digital equivalent of a phone book, as it provides a number (IP address) for a given name (URL).
If you try to access a site that is not yet cached on your computer, your DNS server will request input from another server. Your default DNS server is probably provided by your ISP and is not guaranteed to be the best performing server.
How does your location affect DNS speed?
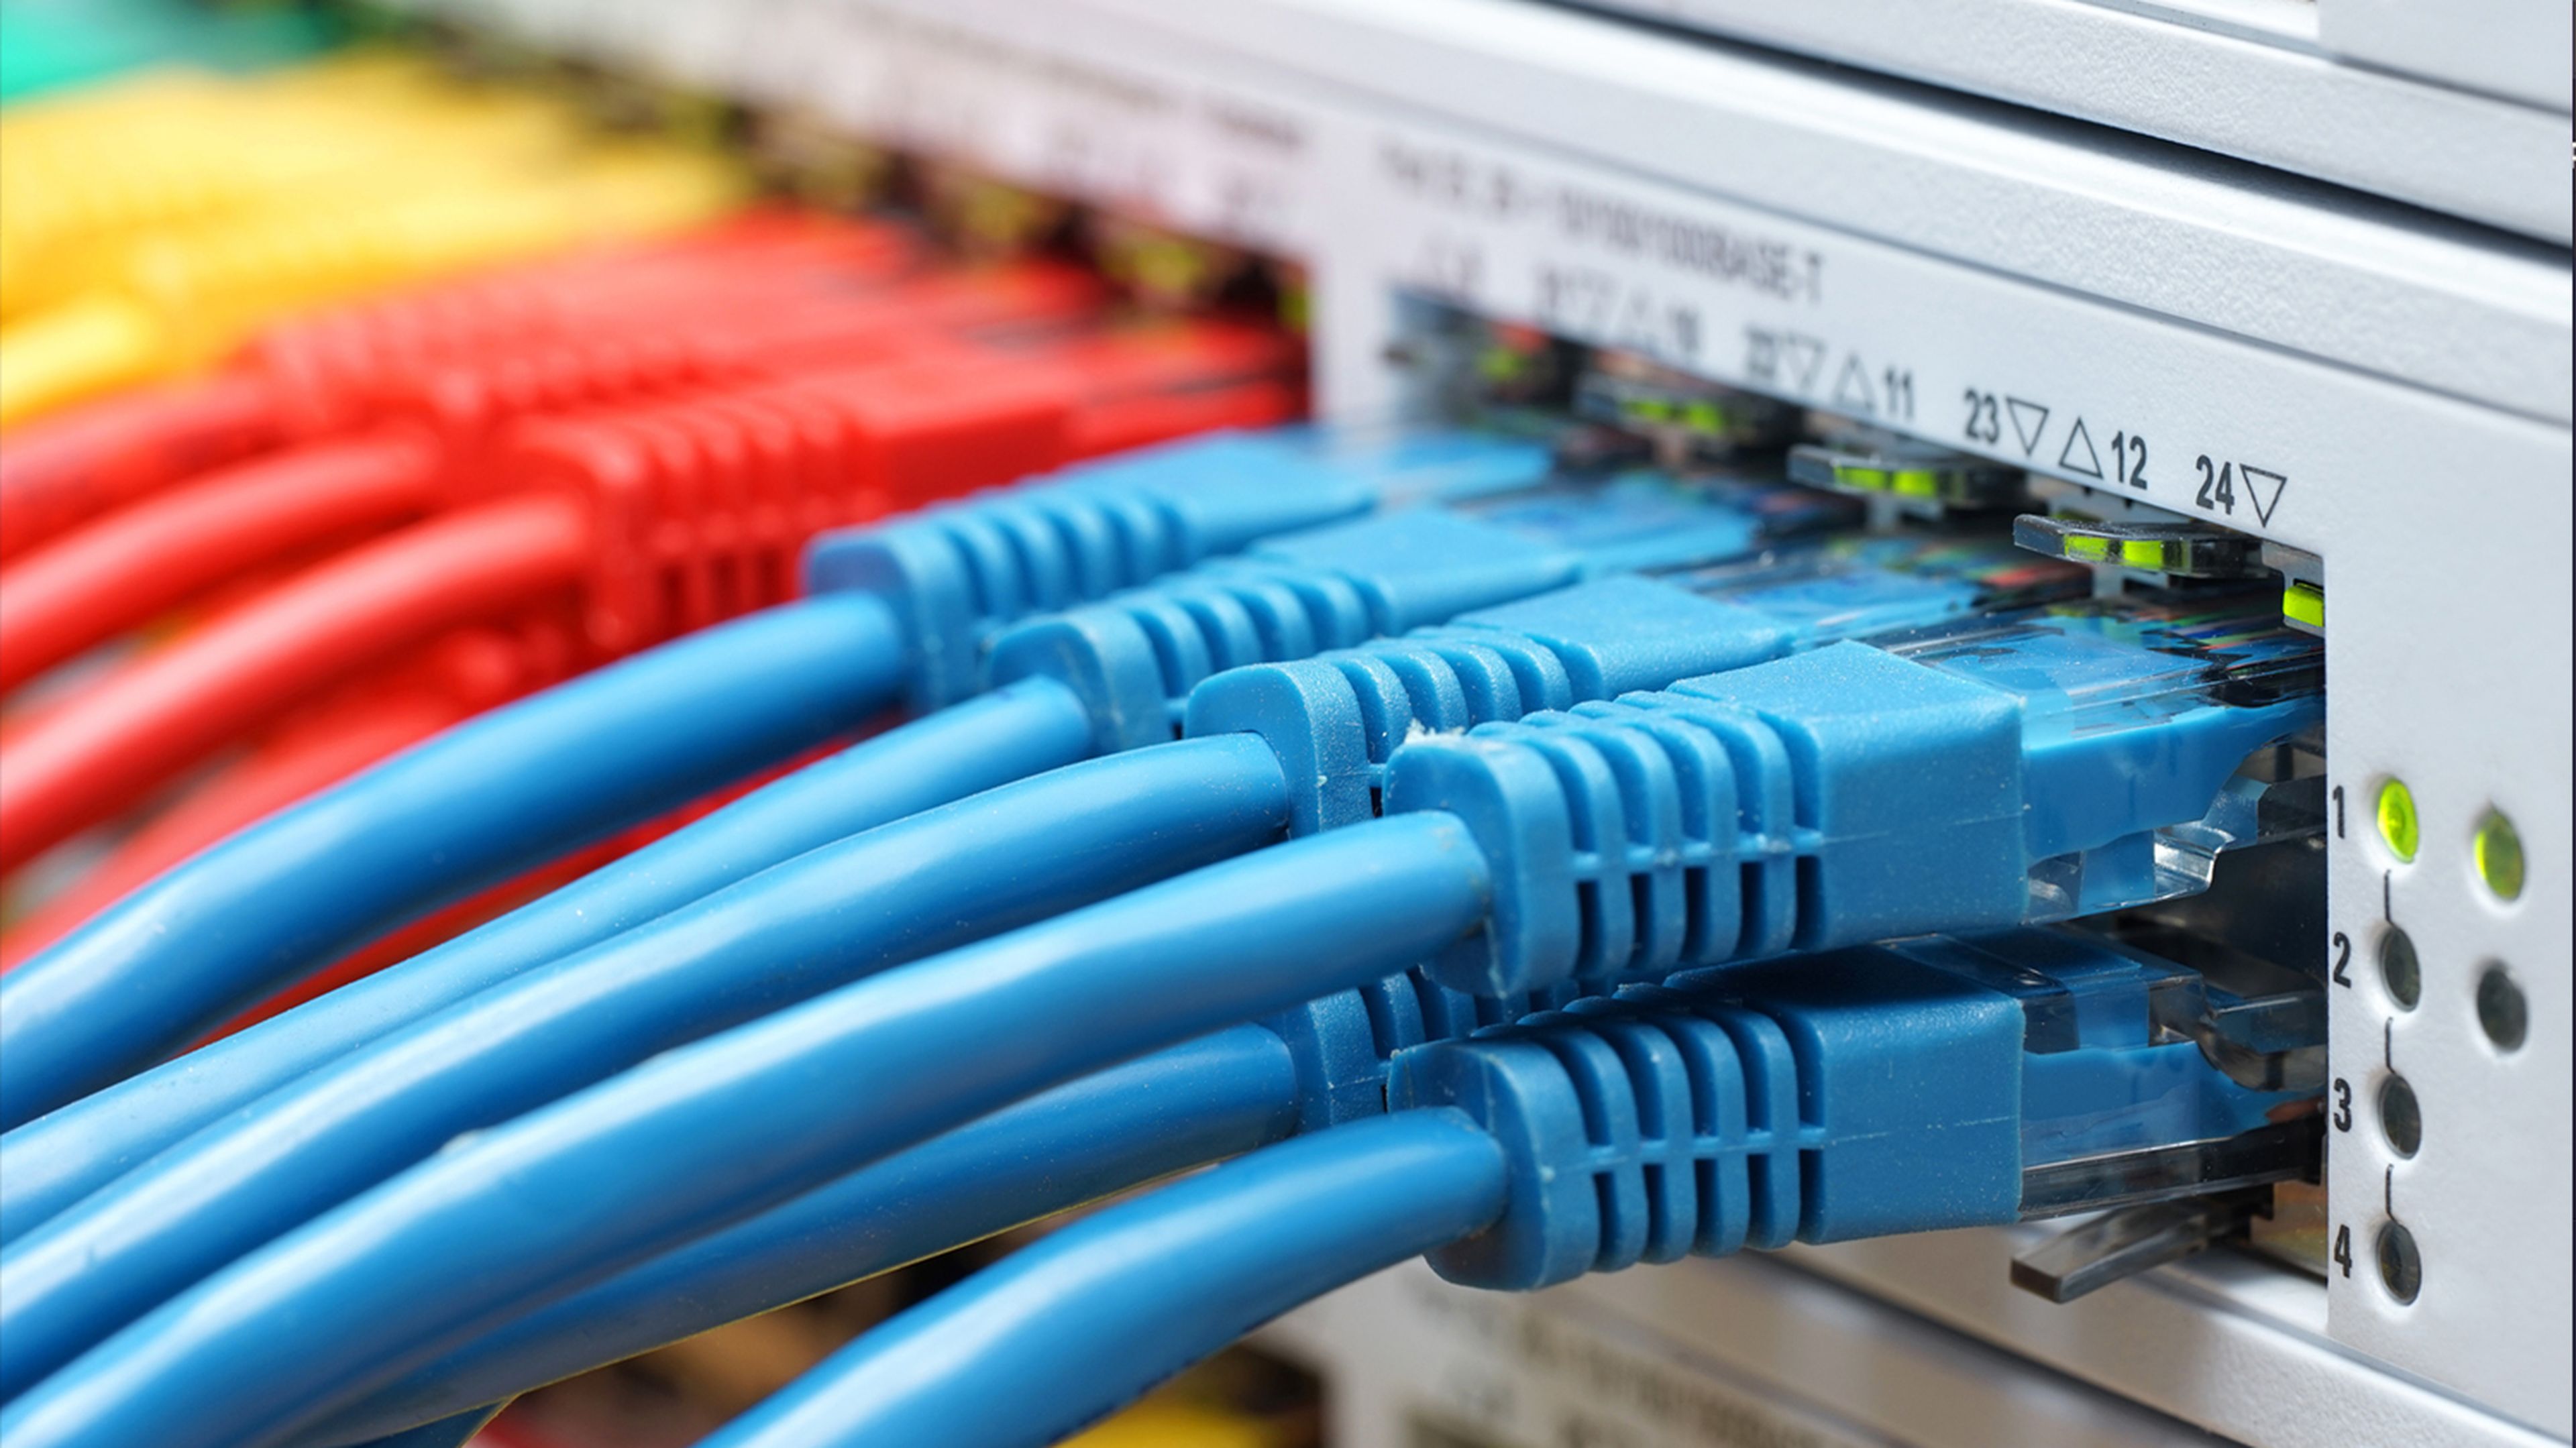
The infrastructure that supports the Internet is a series of optical cables that connect servers around the world. Data is transported through these cables in the form of electromagnetic waves, with a speed limited to that of light.
Although we can’t do anything to increase that speed, we can reduce the distance these waves have to travel. If a DNS server is located far from you, your browsing speed will be affected.

However, the reality of the Internet is more complicated than simple distance calculations lead us to believe. Google Public DNS is one of the most popular DNS server alternatives and uses two IP addresses (8.8.8.8 and 8.8.4.4).
They are known as anycast addresses, with multiple servers all over the world that respond to requests from these addresses. The servers that respond to requests vary throughout the day, depending on network and traffic conditions. Hence, many people change the DNS on their router.
To change your DNS in Windows 10 or Windows 11
- Press Win + X to open the power user menu and select Network Connections.
- Choose Advanced network settings > More network adapter options.
- In the new window showing the available network devices, Right-click on the Internet-connected device and select Properties.
- Select option Internet Protocol version 4 (TCP/IPv4) and click Properties. Go to the Use the following DNS server addresses option.
- In this area, enter the following IP addresses, depending on the DNS provider you want to use: Google DNS: 8.8.8.8, 8.8.4.4 – Cloudflare IPv4: 1.1.1.1, 1.0.0.1 – OpenDNS: 208.67. 222.222, 208.67. 220,220
- Once entered, click OK to save these settings. You will return to the Properties menu. From here, select Internet Protocol version 6 (TCP/IPv6) and click Properties. You can now repeat the process for the IPv6 DNS servers.
- Google DNS: 2001:4860:4860::8888, 2001:4860:4860::8844 – Cloudflare IPv6: 2606:4700:4700::1111, 2606:4700:4700::1001 – OpenDNS: 2620:119:35 ::35, 2620:119:53::53
- Click OK to save the IPv6 DNS settings. You can then close all configuration windows and return to your normal Internet browsing.
Once you have clicked to confirm these settings, you will start using new DNS servers and your internet speed will be the same, but the time lapse between when you click on a website and it reacts should be reduced. Don’t expect miracles either, they will be seconds at most.
[ad_2]


Leave a Reply